
For those of you that read my blog regularly and are familiar with my scrap style, you know I love Echo Park. They come out with amazing designs and color combinations and have really taken a piece of the industry with their fresh collections. They have moved into my number one favorite company spot and I have been waiting...and waiting...and waiting for a design team call from them. They are shaking things up a bit and holding a very non-traditional call, so here is me throwing my hat in the ring:) Some of these projects have made appearances on my blog before, so I will start with one you haven't seen;)
 Splash & Swim
(supplies: all from Summer Days collection; alpha stickers, elements stickers, journaling patterned paper, diecut patterned paper, scallops patterned paper, quilt patterned paper, scene patterned paper, rainbow patterned paper...other: Bazzill Basics cardstock)
and some close up shots:
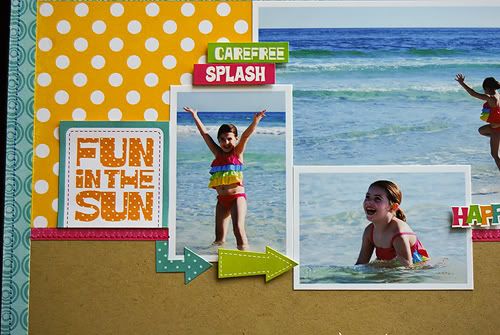
 This page came together pretty quickly. I created a frame by cutting an 11x11 inch square out of the scene patterned paper, and stitched it on to my cardstock base. I then added a 2x8 inch strip of the rainbow patterned paper across the bottom right of the page and a 2x1 inch strip of the scallops (magenta side) patterned paper to the bottom left of the page. I then added a 4x4 inch square of the rainbow patterned paper (the yellow polka dot side) to the top left of the page and a 4x1 inch strip of the quilt (green side) patterned paper to the top right of the page. I added a .25x11 inch strip of the quilt (green side) patterned paper across the top of the bottom strips of patterned paper and a .25x11 inch piece of scallops (magenta side) across the bottom of the top strips of patterned paper. I then stitched across these skinny strips. I added my photos next...a 3x2 inch photo on the bottom, and then a 6x4, 3x2, and 2x3 along the top. Next came adding all of the elements...I added the Fun in the Sun journaling card to the left of my top photos and my typed journaling to the right of my bottom photo. I then played around adding stickers and my title, using adhesive foam to pop some of the stickers up. That was the hard part...whenever I am using stickers, I very lightly place them so that way I can how they look, in case I need to move them. Once I was happy with where they were, I pressed down...and viola...done:)
*******
 Totally Cute
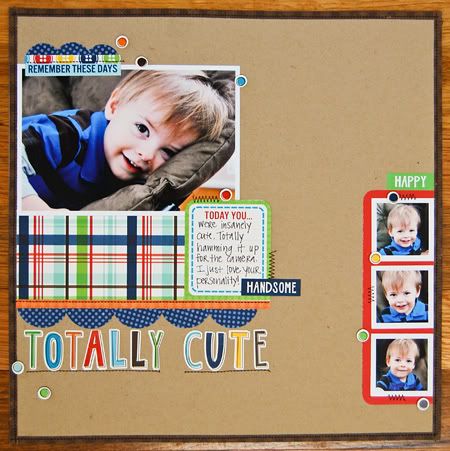
(supplies: all from Little Boy collection: element stickers, alpha stickers, strawberry patterned paper, journaling cards, rad plaid patterned paper, buttons patterned paper, sail boats patterned paper, road map patterned paper...other: cardstock: Bazzill Basics)
and some detailed shots:
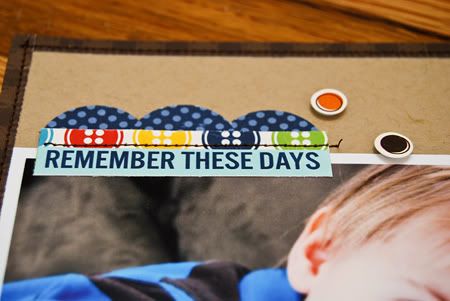

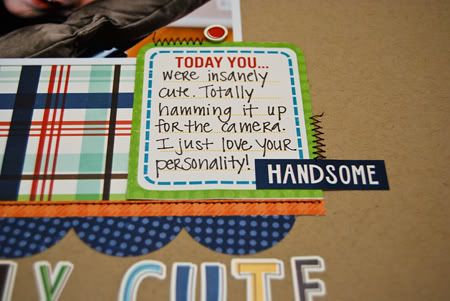
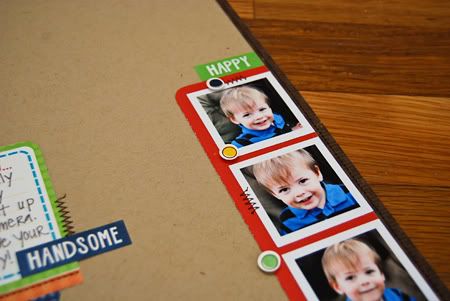 To create this layout, I only had a small strip of the road map patterned paper. I wanted to make the frame around the edge of the cardstock base, so I trimmed the strip into 4 pieces, measuring .25x12 inches. I then glued the strips on the edge of the page...the corners overlapped each other a bit, but that's okay;) The next thing I did was adhere my 6x4 picture to the left side of the page. I used a 1 inch circle punch and punched 2 circles from the sailboats (blue side) patterned paper and trimmed them in half. I cut the "remember these days" strip from the journaling cards paper and trimmed a piece from the buttons patterned paper measuring .25x3 inches. I then adhered the word strip slightly overlapping the left side of the photo, the buttons paper strip above that, and 3 semi circles of the sailboats paper above that. Underneath the photo I adhered a 2x6 inch piece of rad plaid patterned paper, then a .25x7 inch strip of buttons (orange side) patterned paper under that. I then punched 3 circles from the sailboats patterned paper (blue side) with a 1.5 inch circle punch and trimmed those in half. I then added 5 of the semi circles underneath the orange strip. I added my title under that and my journaling card to overlap a bit of the rad plaid patterned paper and the photo. To do the pictures on the right side of the page, I trimmed a piece of the strawberry paper to 2x6.25 inches and rounded the corners. I then adhered that to the rights side of the page and adhered my 3 photos on top of that strip. Finally, I added some of the circle stickers from the elements sheet and some of the word stickers from the alpha sheet, as well as some decorative stitching on the page. **The sizes are approximate...I made this layout with mostly scraps from my beloved Little Boy kit so some of the measurements may be a teensy tiny bit off;)
********
 Learning to Ride
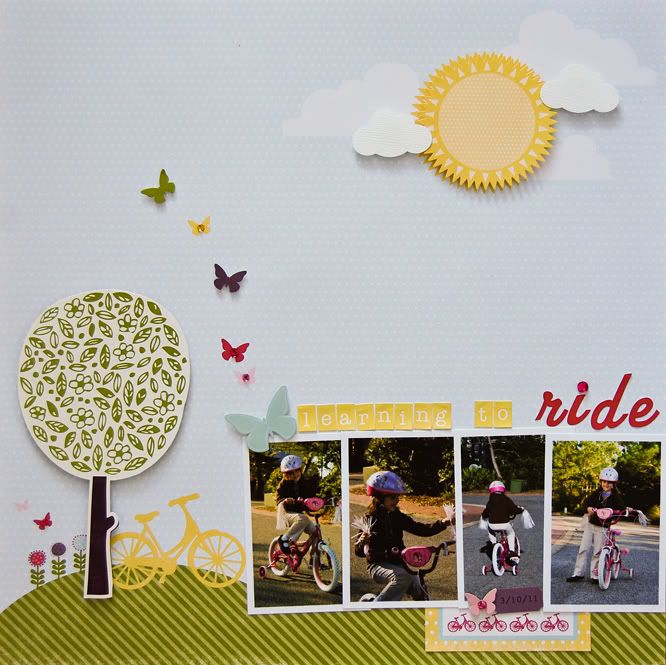
(supplies: all from Springtime Collection: alpha stickers, elements stickers, spring day patterned paper, journaling cards, juneberry patterned paper...other: rhinestones: Me and My Big Ideas, cardstock: Bazzill Basics)
some detail shots:
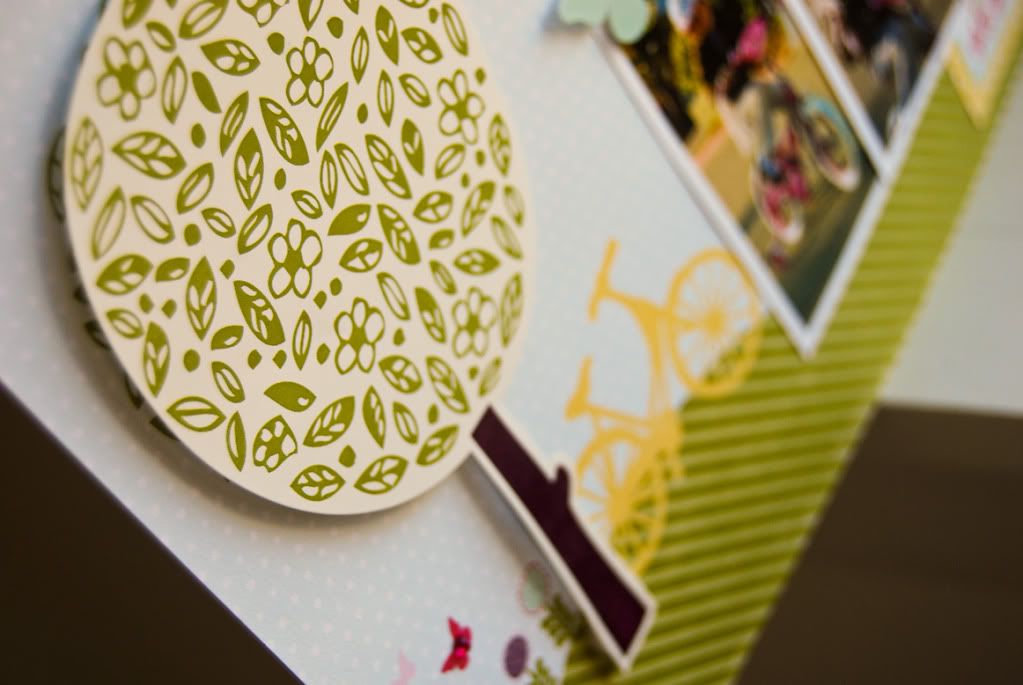

Now this page *really* came together quickly because of that wonderful spring day paper all set up for me to make pretty;)
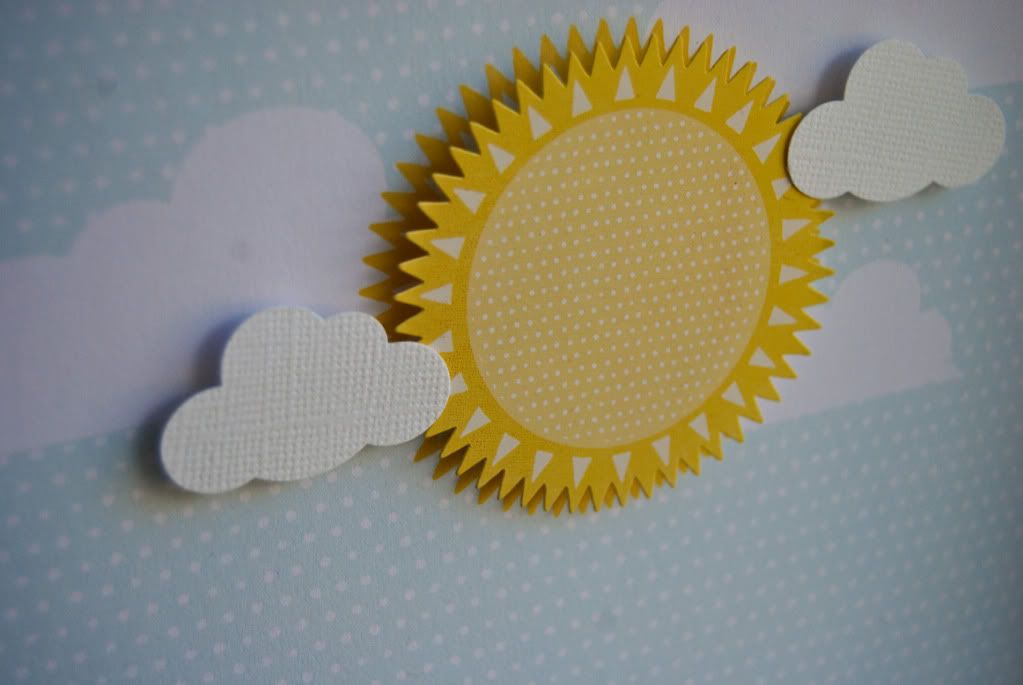
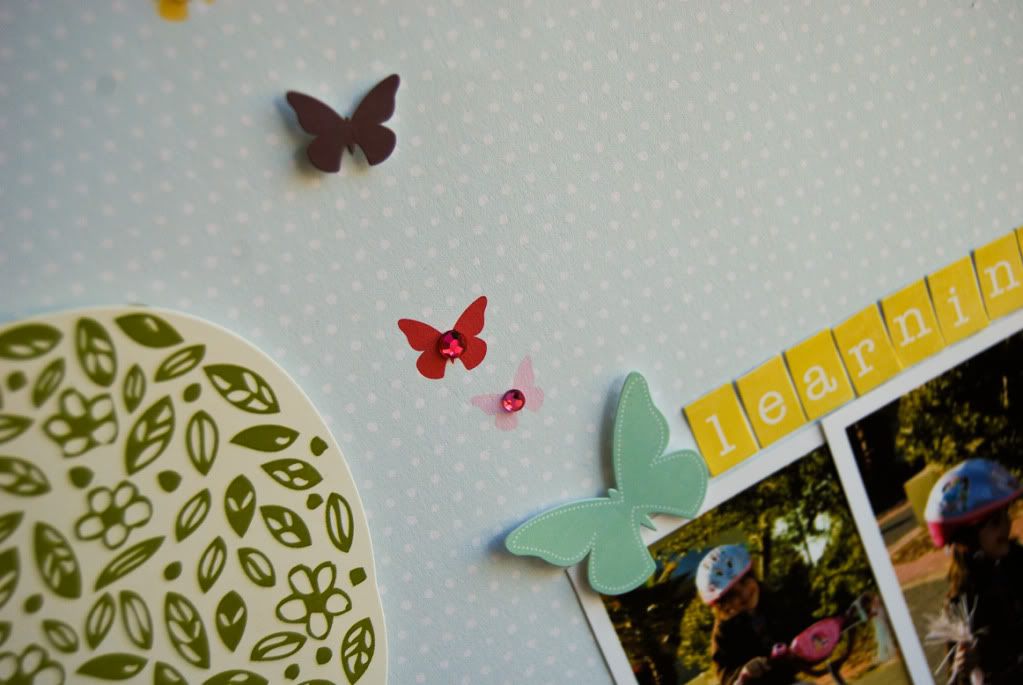
The first thing I did was add my photos, which were 4 3x2 inch photos. I added them in between the bike and the right edge of the page and just sorta overlapped them on the hill of grass printed on the paper. I then slipped the part of the journaling card underneath the photos and I added my title with stickers on top of the photos. Next I took the sun from the elements sticker sheet and placed it over the printed sun, using foam adhesive. I punched a couple clouds from white cardstock and placed them around the sun. Then I slipped the journaling card under the pictures. I then added some rhinestones to several of the butterflies (stickers and the printed ones). Finally, I typed the date on the juneberry paper and punched it out with a label punch. I added it to the journaling card. Super easy page to make and I love how it came out!!!
*******
It was so hard to narrow it down to just 3 projects, so if you would like to peek at more Echo Park projects I have made, you can take a peek here! I guess now is the time to hit the send button and to start crossing my fingers;)
(supplies: all from Summer Days collection; alpha stickers, elements stickers, journaling patterned paper, diecut patterned paper, scallops patterned paper, quilt patterned paper, scene patterned paper, rainbow patterned paper...other: Bazzill Basics cardstock)
and some close up shots:
*******
(supplies: all from Little Boy collection: element stickers, alpha stickers, strawberry patterned paper, journaling cards, rad plaid patterned paper, buttons patterned paper, sail boats patterned paper, road map patterned paper...other: cardstock: Bazzill Basics)
and some detailed shots:
********
(supplies: all from Springtime Collection: alpha stickers, elements stickers, spring day patterned paper, journaling cards, juneberry patterned paper...other: rhinestones: Me and My Big Ideas, cardstock: Bazzill Basics)
some detail shots:
Now this page *really* came together quickly because of that wonderful spring day paper all set up for me to make pretty;)
The first thing I did was add my photos, which were 4 3x2 inch photos. I added them in between the bike and the right edge of the page and just sorta overlapped them on the hill of grass printed on the paper. I then slipped the part of the journaling card underneath the photos and I added my title with stickers on top of the photos. Next I took the sun from the elements sticker sheet and placed it over the printed sun, using foam adhesive. I punched a couple clouds from white cardstock and placed them around the sun. Then I slipped the journaling card under the pictures. I then added some rhinestones to several of the butterflies (stickers and the printed ones). Finally, I typed the date on the juneberry paper and punched it out with a label punch. I added it to the journaling card. Super easy page to make and I love how it came out!!!
*******
It was so hard to narrow it down to just 3 projects, so if you would like to peek at more Echo Park projects I have made, you can take a peek here! I guess now is the time to hit the send button and to start crossing my fingers;)


12 comments:
These are fantastic Pam! Best of luck! EP would be lucky to have you!
I love your style, Pam, and will be rooting for you!
Good luck, Pam!
Your beautiful babies and EP pp are a perfect mix. I can't wait to hear when they announce your name! ( they'd be crazy not too!)
Very cute layouts, good luck !
Love your layouts girl - your Echo Park creations are always awesome! Best of luck!
JUST LOVE your layouts. They would be stupid not to pick you!
Good luck Pam...Ii wish you all the best.
I think you and EP are already a great fit. Hope they see it too :)
Fabulous pages, good luck!
Fabulous layouts Pam and good luck!:)
You are in like Flynn. (Whatever that means. Haha)
I love the style you have where you have a group of pics together and then one other pic separately. It really makes you look at all of the pics! TFS! Good luck!
Post a Comment